
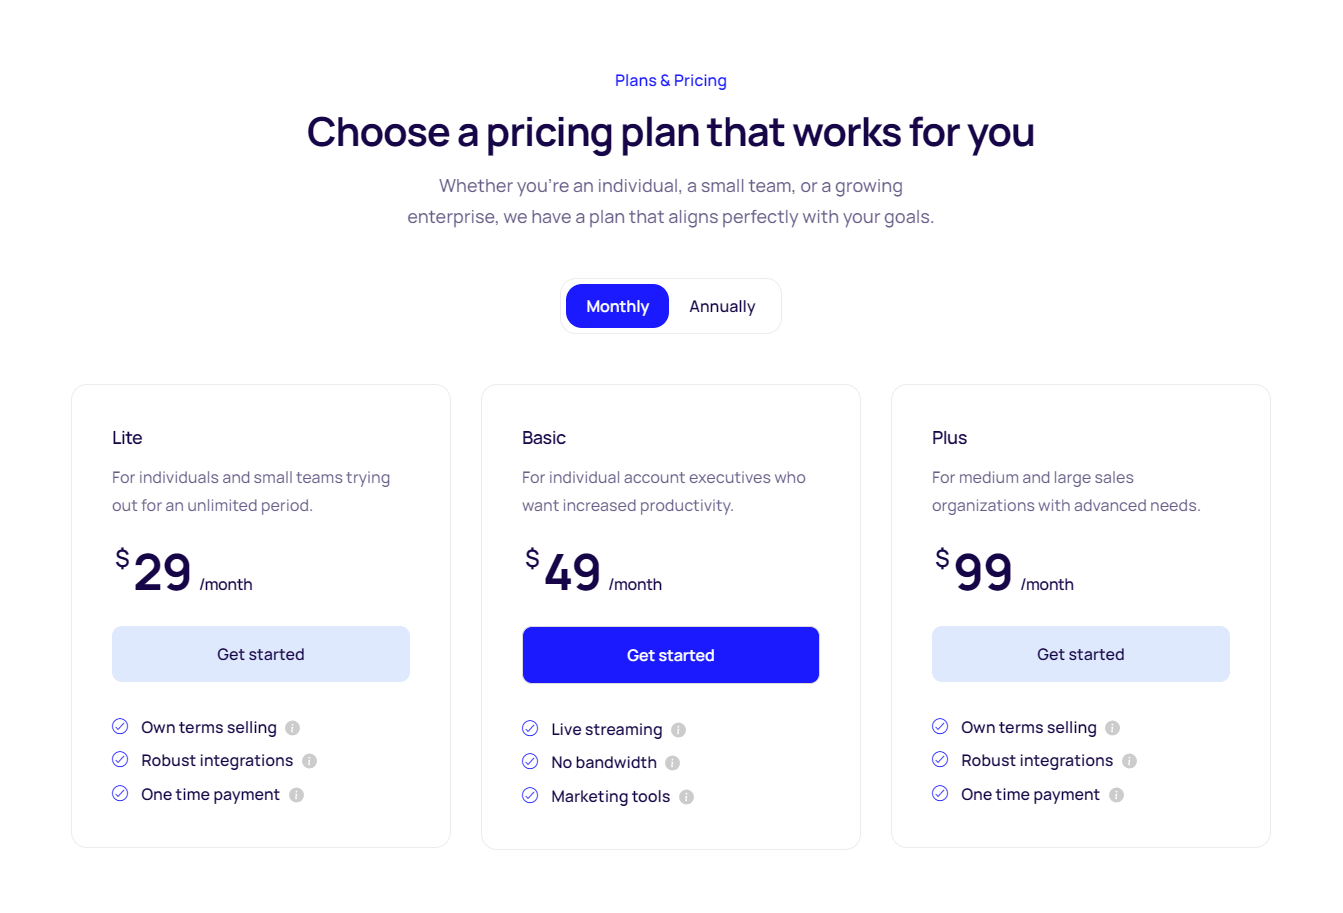
The Ekit Advanced Toggle widget allows you to create interactive content boxes that let visitors seamlessly switch between two views – perfect for showcasing pricing tables with Yearly and Annually plans. You can insert any Elementor widget into each view, giving you full design flexibility.
Follow the steps below to create a pricing table with a yearly/monthly toggle:
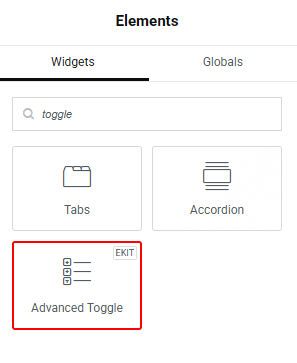
- Add the Ekit Advanced Toggle widget. In the Elementor editor, search for the Advanced Toggle widget. Drag and drop it into your desired section on the page.

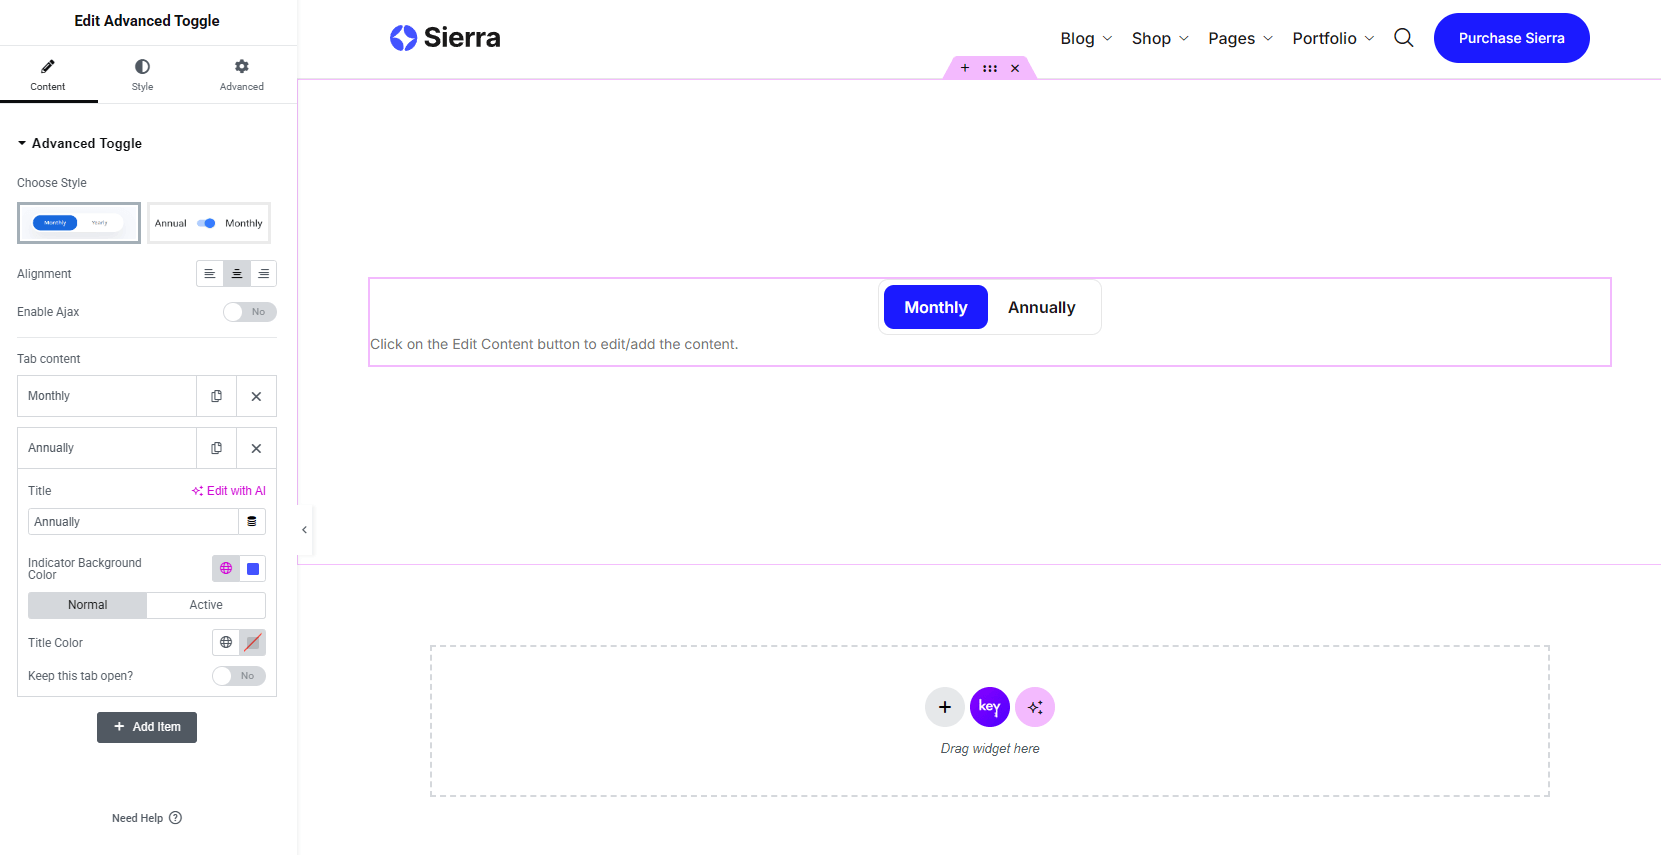
- Configure the toggle settings. In the widget panel, set up the toggle options. Choose your preferred toggle style, label alignment, and customize the button text (e.g., “Monthly” and “Annually”).
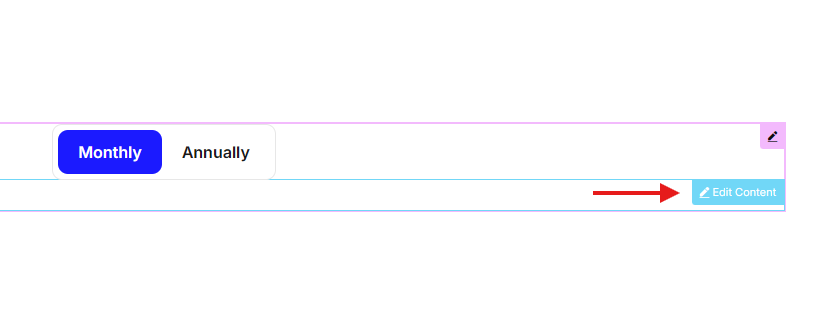
- Edit the toggle content areas. Hover over the toggle widget, then click the blue Edit Content button on one of the views (e.g., Monthly).
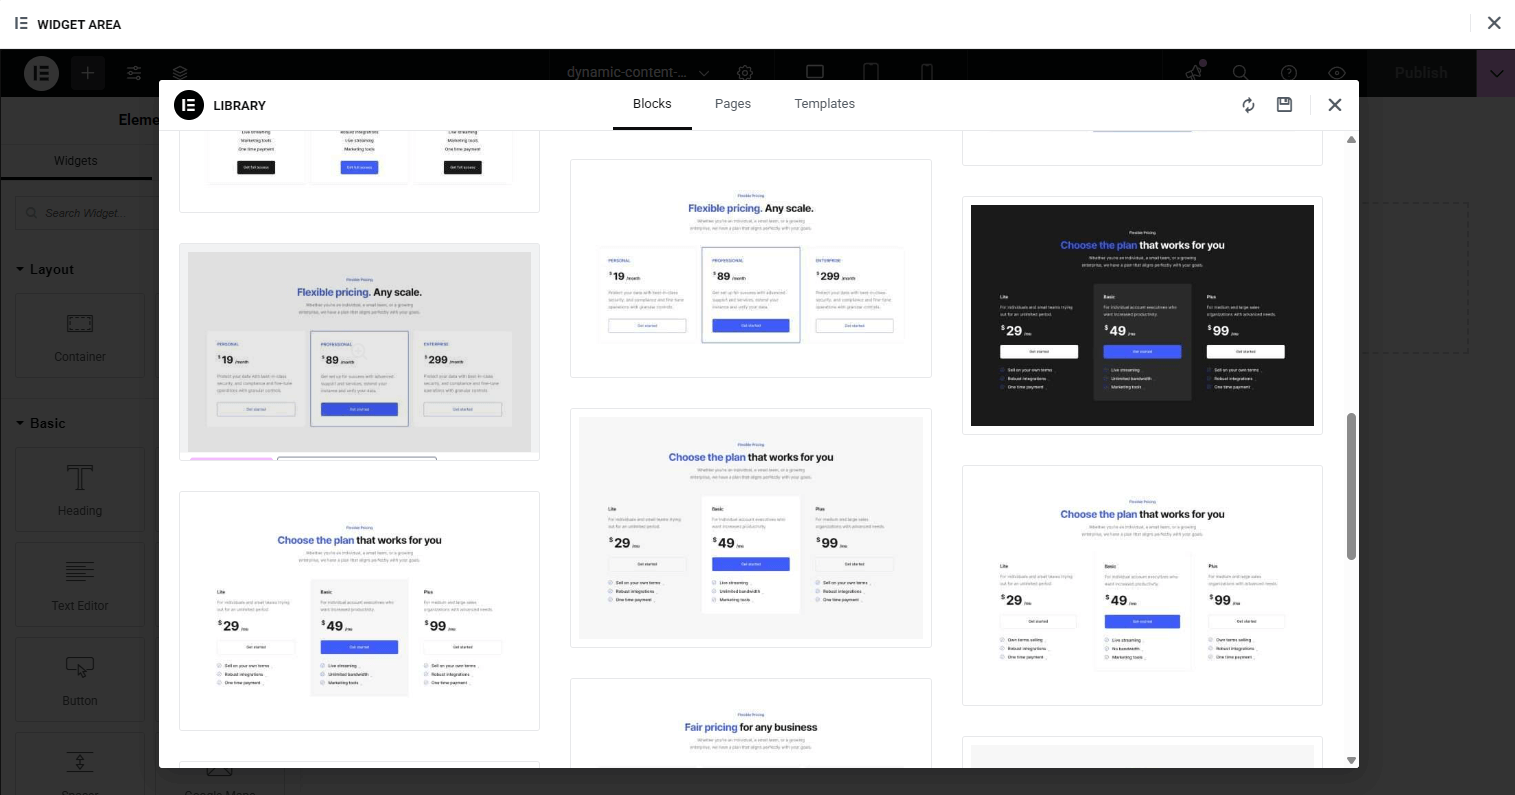
- Insert a pricing table block. In the editing area, open the Template Library, search for a Pricing Table block, and insert it into the view.
- Customize the pricing table. Edit the content (title, features, price, button) as needed. Once done, repeat the same process for the other view (e.g., Annually).
- Publish your changes. After setting up both views, click Publish to make the pricing toggle live on your site.
Was this article helpful?
What went wrong?
